

 Add to favorites
Hello and welcome to #SpoilYourselfSunday, where we celebrate simple and frugal ways to enjoy a little me-time. Get in the spirit – write your own tips on our Facebook wall, or tweet @CatchyFreebies with the hashtag #SpoilYourselfSunday. If we choose your tip for a feature, we’ll send you a sample from our stash!
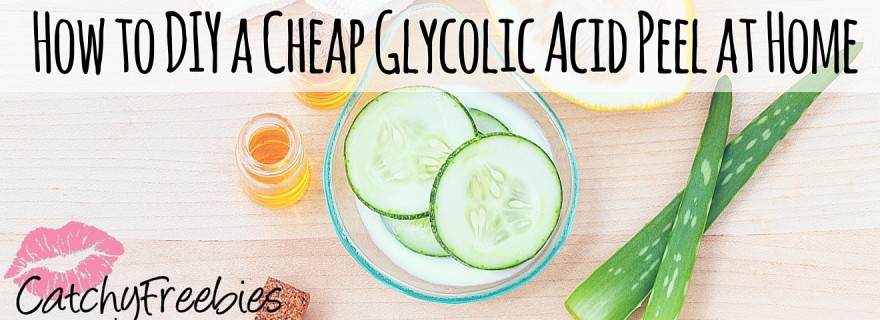
Today for #SpoilYourselfSunday, let’s talk acid peels. A glycolic acid peel treatment can have great results for skin, but at what cost? They can cost upwards of a hundred dollars (sometimes several hundred dollars, depending on the spa) and they can cause a lot of skin damage, especially for those with sensitive skin, and especially when performed by inexperienced beauty therapists. Let’s be honest, even at-home acid peels can cause some extreme skin reactions, from hyper-reddened to ultra-thin skin that will become damaged easily. So, what to do? An all-natural DIY glycolic acid peel, of course!
Turns out, the secret frugal ingredient for a DIY acid peel might be sitting in your kitchen! According to beauty DIY guru Gregory Landsman, caster sugar (much finer than regular table sugar) is one of the purest forms of glycolic acid, so it makes a fabulous at-home alternative to expensive, invasive treatments. You can find caster sugar at your local supermarket or on Amazon for just a few bucks, and a little goes a long way, so it’s a great value!
All you need for this DIY glycolic acid peel is caster sugar and water. Just dampen your face with a little water, and apply some caster sugar all over your facial skin (you could also use this as a whole-body treatment!). Wait 15 minutes to let the sugar works its magic on all those dead skin cells – take the time to relax, meditate, or catch up on some emails – then rinse it off for more smooth and even-toned skin! You’ll see results right away, but if you repeat every few days you’ll see fabulous improvements within a few weeks. Don’t forget to apply a moisturizing cream or oil – we love coconut or jojoba! – right after you wash off the sugar to preserve your healthy, smooth skin!
What’s your favorite way to DIY expensive beauty treatments? Leave us a comment on social media using the hashtag #SpoilYourselfSunday!

Like this post? Sign up for our email newsletter so you never miss a money-saving tip!